Film noir photo effect: hard light and deep shadow
The short answer: a film noir photo is not simply a desaturated one. Noir is defined by hard light from a single low or side source, deep crushed blacks with no recoverable detail, a very high contrast ratio between lit and unlit sides of the face, and a composition that uses shadow as a shape. Remove the colour from an evenly-lit snapshot and you get a grey photo, not a noir one.
What actually makes an image noir
- One hard source, placed low or to the side. Classic noir lighting throws a sharp-edged shadow, usually across the face or onto the wall behind. Soft, wrapping light is the opposite of noir.
- Blacks that are genuinely black. Not dark grey. Large regions of the frame carry no information at all, and the eye accepts that as atmosphere.
- Extreme contrast ratio. The lit side of a face might be several stops brighter than the shadow side. Modern phone processing works hard to prevent exactly this, which is why straight iPhone photos resist the look.
- Shadow used compositionally. Venetian-blind stripes, a doorway's hard edge, a figure half lost in darkness. The shadow is a subject, not an absence.
- Grain, and a slightly compressed tonal range. Film stock of the era wasn't clean, and the texture is part of the signature.
Why your black-and-white filter doesn't look like this
Because it only removes colour. Everything else about the photo — the flat ambient light, the lifted shadows, the even exposure across the face — stays exactly as it was. Desaturation is one step of maybe five.
The steps that matter are the ones that change where light appears to come from and how far it falls off, and those require a model that understands the geometry of the scene rather than a curve applied to pixels.
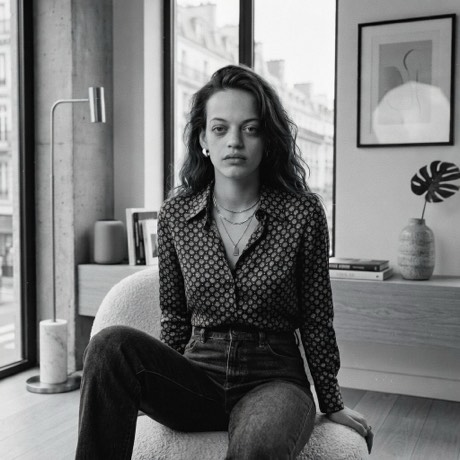
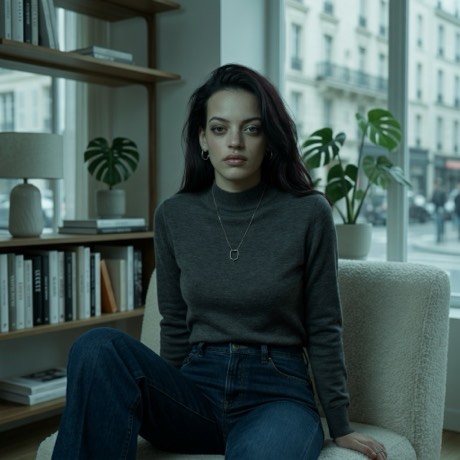
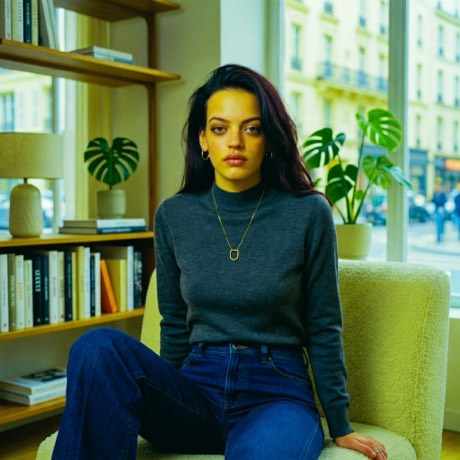
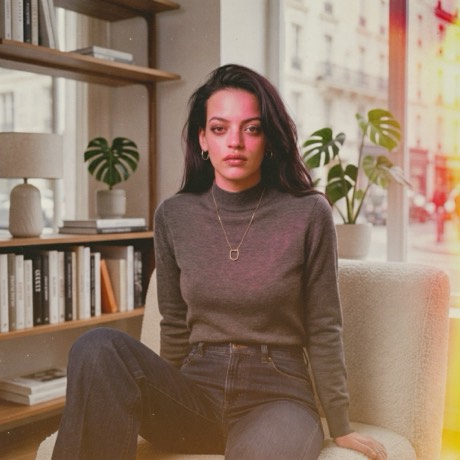
How to get a noir photo on iPhone
- Download the app — Pose AI, free on the App Store.
- Take the photo, or bring one in. Shoot straight from the app's camera, or pull in something already on your camera roll. Nothing leaves your phone until you pick a look.
- Open the Lighting family and pick Film Noir. Lighting styles use Restyle — your pose, clothing and room are untouched, only the light and colour change.
- Or try Cold Case for a colder, more procedural variant if straight noir is too romantic for the shot.
- Give it about twenty seconds, then compare with the original to see how far the light actually moved.
Shooting a photo that noirs well
This is one of the styles where the input matters most, because the effect is fundamentally about light:
- Use one source. A single window, a single lamp. Multiple sources fill in the shadows and kill the contrast before you start.
- Get the source to the side. Front-on light produces a flat face with nothing to carve.
- Turn other lights off. Ambient fill is the enemy.
- Look for existing hard shadows — blinds, a bannister, a doorframe. If the shadow is already in the photo, the result is dramatically better.
- Keep the background simple and dark. Noir wants somewhere for the frame to fall away into.
Noir vs plain monochrome
Use noir when the photo has directional light and you want drama. Use ordinary black and white when the photo is gently lit and you want it quiet — forcing a noir treatment onto a soft, evenly-lit portrait produces contrast that looks applied rather than photographed. It's the same reason a cinematic grade works best on a photo that already has a light source in frame.
Shoot it in noir
Film Noir, Cold Case and eight more lighting looks that only change the light.
Download on theApp StoreFree to download · iPhone · iOS 17+