The photos none of these looks will save
The short version: generated imagery has a consistent, predictable set of weaknesses — hands, any kind of lettering, multiple faces in one frame, heads turned away from camera, and photos with no directional light. Knowing which of those is in your photo before you pick a look saves you the disappointment, because most of them are input problems that no style can fix.
Every app in this category shows you its best output. That's fair enough — so does every camera manufacturer. But it means people arrive with a mental model calibrated on the wins, run their own photo, and conclude the tool is broken when what actually happened is that they fed it something hard.
Here is the failure list, honestly, and what each one is actually caused by.
1. Hands
Still the most reliable tell. Fingers merge, gain an extra joint, or resolve into an approximate mitten. It happens because hands are small in frame, extremely variable in shape, and frequently overlapping themselves — a lot of visual complexity in very few pixels.
What to do: if your hands are prominent — near your face, holding something, in a deliberate gesture — expect to check them. Hands at your sides, in your lap, or out of frame are much safer. This is the single easiest thing to control when you take the photo.
2. Anything with writing on it
Book spines, shop signs, logos on a T-shirt, a label on a bottle. These come back as convincing-looking lettering that is not words. The model has learned what text looks like without learning to spell, so it produces the texture of language rather than language.
What to do: notice text in your frame before you shoot. A bookshelf directly behind you will produce dozens of small nonsense spines. Turning ninety degrees so a plain wall is behind you removes the problem entirely.
3. More than one face
Group photos are meaningfully harder, and not linearly — every additional face is another independent chance for one person's likeness to drift. A four-person shot where three faces are perfect and one is subtly wrong reads as worse than a solo shot with the same average accuracy, because the error has a name and it's your friend.
What to do: keep groups small and everyone front-on, or accept that you may be running it more than once.
4. Faces turned away from camera
Past roughly forty-five degrees, the model has much less facial structure to preserve, so it fills in from priors — which means it fills in from an average face rather than yours. Full profiles are the worst case, and heavily tilted-down "looking at your phone" angles are close behind.
What to do: front-on or slightly angled. This one change improves likeness more than any other input decision.
5. Flat, even light
Not a likeness failure — an aesthetic one. Overhead ambient light with no direction gives a styliser nothing to work with. Cartooning turns gradients into shapes, and there are no gradients. Noir needs a shadow side that doesn't exist. Cinematic grades need a source to motivate.
What to do: stand near a window, side-on. It costs nothing and it changes the ceiling on every look in the library.
The smaller ones
- Glasses change frame shape often, and reflections in lenses are unpredictable.
- Fine jewellery — thin chains, small earrings — frequently move or vanish.
- Complex patterns on clothing reorganise themselves. A plain garment survives a restyle far better than a busy print.
- Tattoos get reinterpreted rather than reproduced. If a specific tattoo matters to the photo, this will bother you.
- Very tight crops leave nothing to change. A head-and-shoulders shot has no room for a location swap.
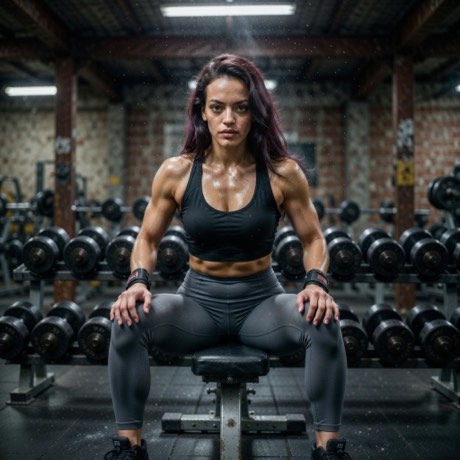
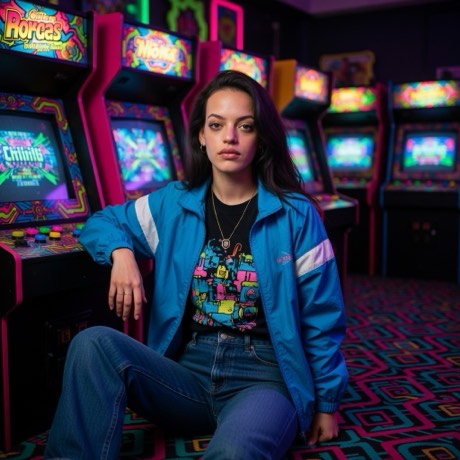
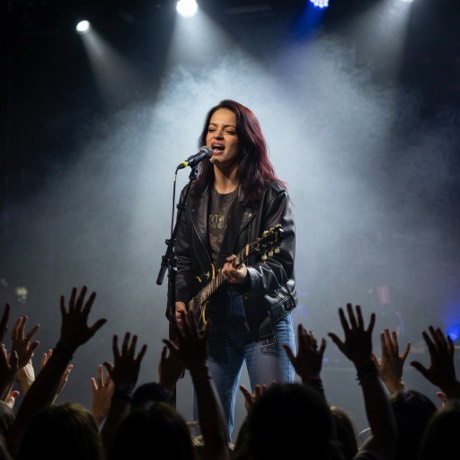
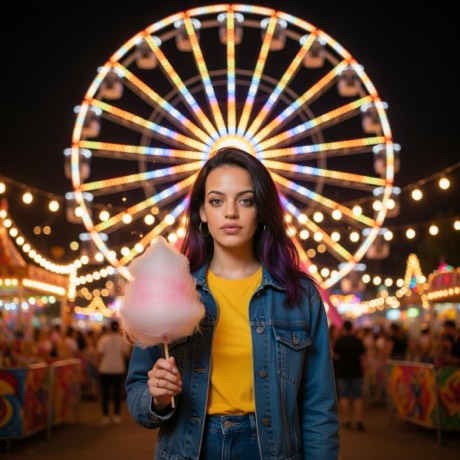
Busy scenes like these are where lettering and hand errors are most likely to appear — and also where the payoff is biggest when they don't.
The pattern underneath all of it
Almost everything on this list is a function of how much the model has to invent. A lighting change on a well-lit, front-on, uncluttered photo asks for very little invention and is correspondingly reliable. A full scene replacement on a busy group shot asks for enormous invention and will show you every failure mode at once.
That's the actual trade you're making when you choose between the two modes, and it's worth making deliberately — more on that in how to restyle a photo with AI.
Why say any of this
Because the alternative is you finding out one photo at a time. A tool that tells you where it breaks is easier to get good results from than one that pretends it doesn't break, and the fixes here are mostly free: turn toward the window, put your hands down, don't stand in front of the bookshelf.
Now go feed it a good photo
Front-on, side-lit, hands down, plain wall. Then pick a look.
Download on theApp StoreFree to download · iPhone · iOS 17+